Open Outlook
Launch the Outlook app on your Windows computer and select “New mail”.
Go to the signature settings
- Outlook 2016 and later: Go to the “Messages” tab and then click on “Signature”.
- Earlier versions: The path may vary slightly, but usually look in the “Mail” options or settings.

Create a new signature
- Click the “New” button to create a new signature.
- Give it a name (for example, “Business Signature”).

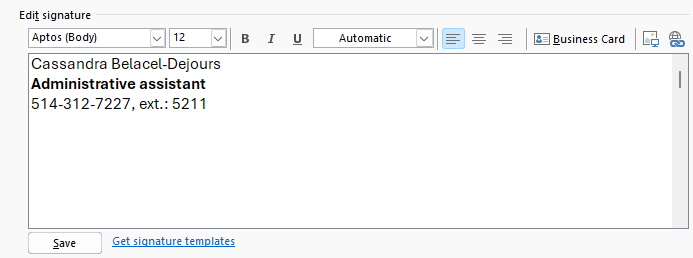
Edit your signature
- In the text box that opens, enter the text you want to include in your signature.
- Use formatting tools: You can change the font, size, color of the text, add links, images, etc., just like you would in a Word document.
- Insert Image: Click on the “Image” icon to add your logo or another image.

Choose where to apply the signature
- New messages: Check the corresponding box to have this signature automatically added to all your new messages.
- Replies and forwards: Check the box if you want the signature to be added to replies and message forwards.
Set the default signature
Select the signature you want to use by default from the drop-down list.

Save your changes
Click “OK” to save your signature.
Additional Tips:
- Multiple signatures: You can create multiple signatures for different types of messages (business, personal, etc.).
- Personalization: Feel free to personalize your signature by adding your contact information, social media, or any other relevant element.
- Update: You can change your signature at any time by following the same steps.
